Descriptions

In a seemingly abandoned Tollhouse within Baldur's Gate 3's Shadow-Cursed Lands lies an interesting gimmick boss that punishes the unsuspecting. For the unprepared and unknowing, she's a challenge that can wipe parties and demand save-resets.
But her power is nothing more than an illusion, and once you know her trick, you'll be punishing her for getting the better of you the first time. Punish her greed, and rest assured, you'll be able to sate your own. We hope your coin pouch is big enough to hold it all.
Updated February 7, 2024 by Alexis Campbell: Updated to reflect Patch 5 Honour Mode changes, including Legendary Actions and Twist of Fortune weapon nerfs. Additionally, added new information about the "Signed Trade Visa" item gained when giving Gerringothe enough gold.
Gerringothe Thorm's Gimmick - What You Need To Know
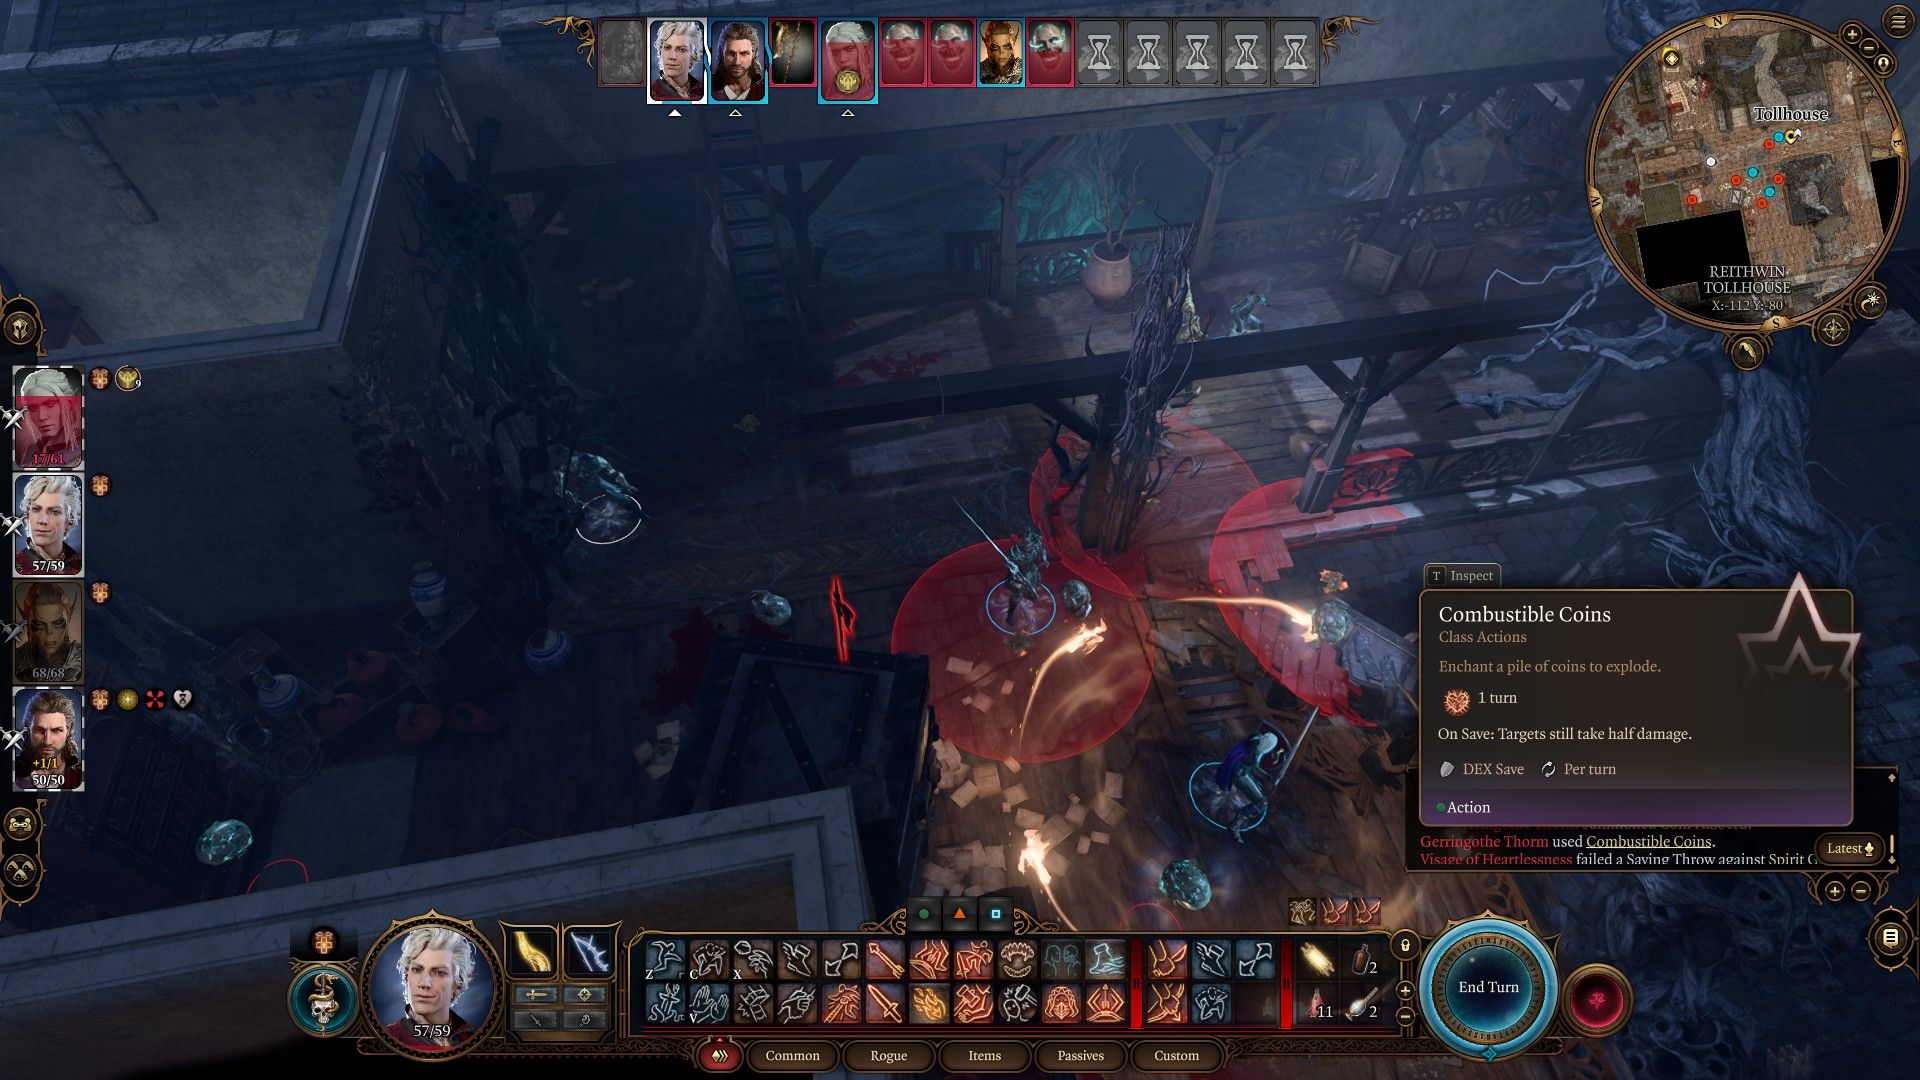
As you find Gerringothe on the second floor of the Reithwin Tollhouse (Coordinates: X:-108, Y:-84), you will notice small piles of gold on the floor leading up to her position near an open section in the outer wall. Pick them up as you approach.
These piles of gold are capable of spawning new enemies and exploding during Gerringothe's battle. The ones closest to you will explode at the beginning of the first turn, potentially starting the encounter off to a rough start.
Get ahead of the curve and eliminate the threat beforehand by removing as many coin piles as you can without being seen or caught, and cast Bless on your teammates, if you can, before speaking with Gerringothe.
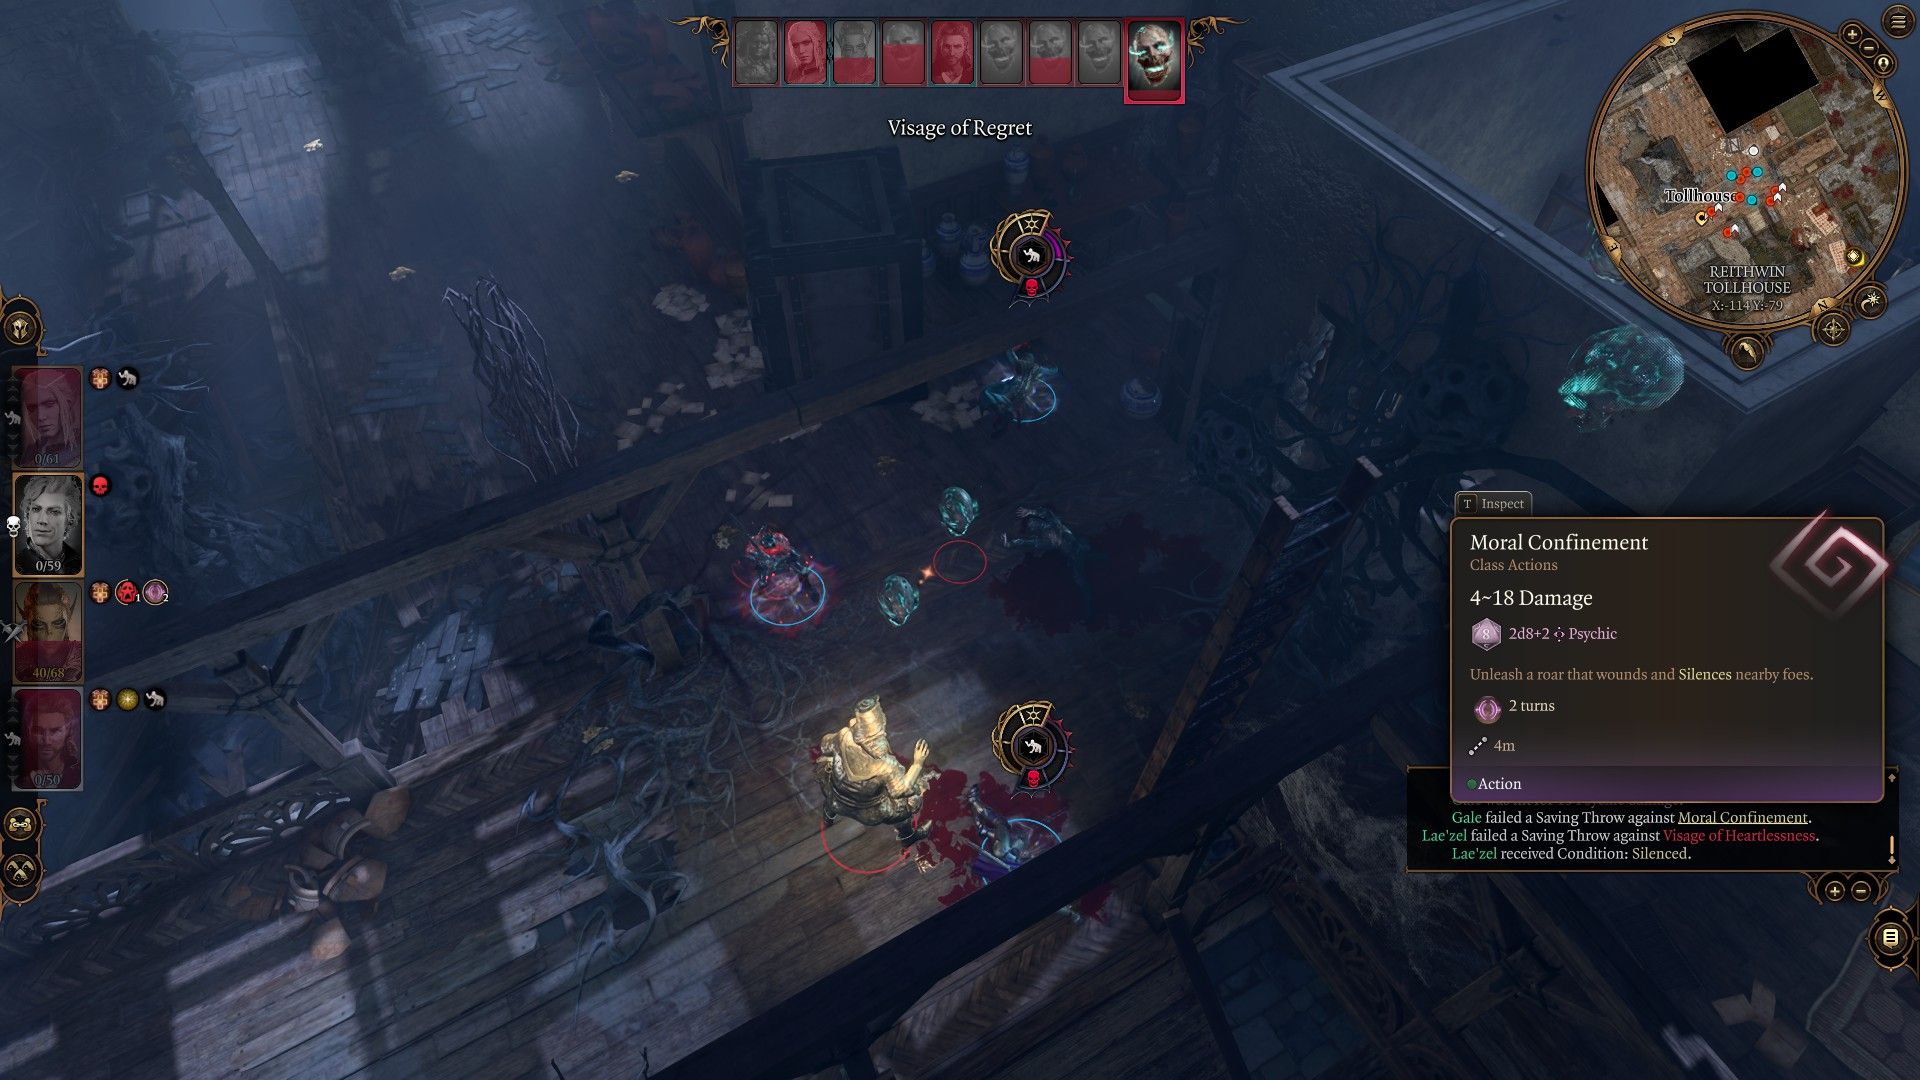
You'll also notice several floating heads around named "Visage of X." These will be enemies that help Gerringothe Thorm during combat.
More than just enemies that deal additional damage, their existence contributes to Gerringothe's massive health pool and some of her abilities. During combat, you should not be fighting Gerringothe herself. Rather, your targets will be these spooky heads.
Each head has its own area attack power:
Skull | Power | Effect |
|---|---|---|
Visage of Obedience | Death Shriek | Deal 2d4 + 1 Necrotic to all enemies within 4m. |
Visage of Regret | Choking Wail | Deal 2d8 + 2 Psychic damage and Paralyse foes within 4m on a failed Saving Throw. |
Visage of Heartlessness | Moral Confinement | Deal 2d8 + 2 Psychic damage and Silence foes within 4m on a failed Saving Throw. |
Visage of Guilt | Venomous Guilt | Deal 2d8 + 2 Poison damage and Poison foes within 4m on a failed Saving Throw. |
Visage of Greed | Burning Avarice | Deal 2d8 + 2 Fire + (Conditional) 1d6 Fire to all foes within 4m. Deal 1-6 Fire damage for each stack of 1,000 gold pieces each foe carries. |
Visage of Cowardice | Blind Terror | Deal 2d8 + 2 Psychic damage. Frightens and Blinds foes within 4m on a failed Saving Throw. |
Talking With Gerringothe Thorm - How To Get The Signed Trade Visa
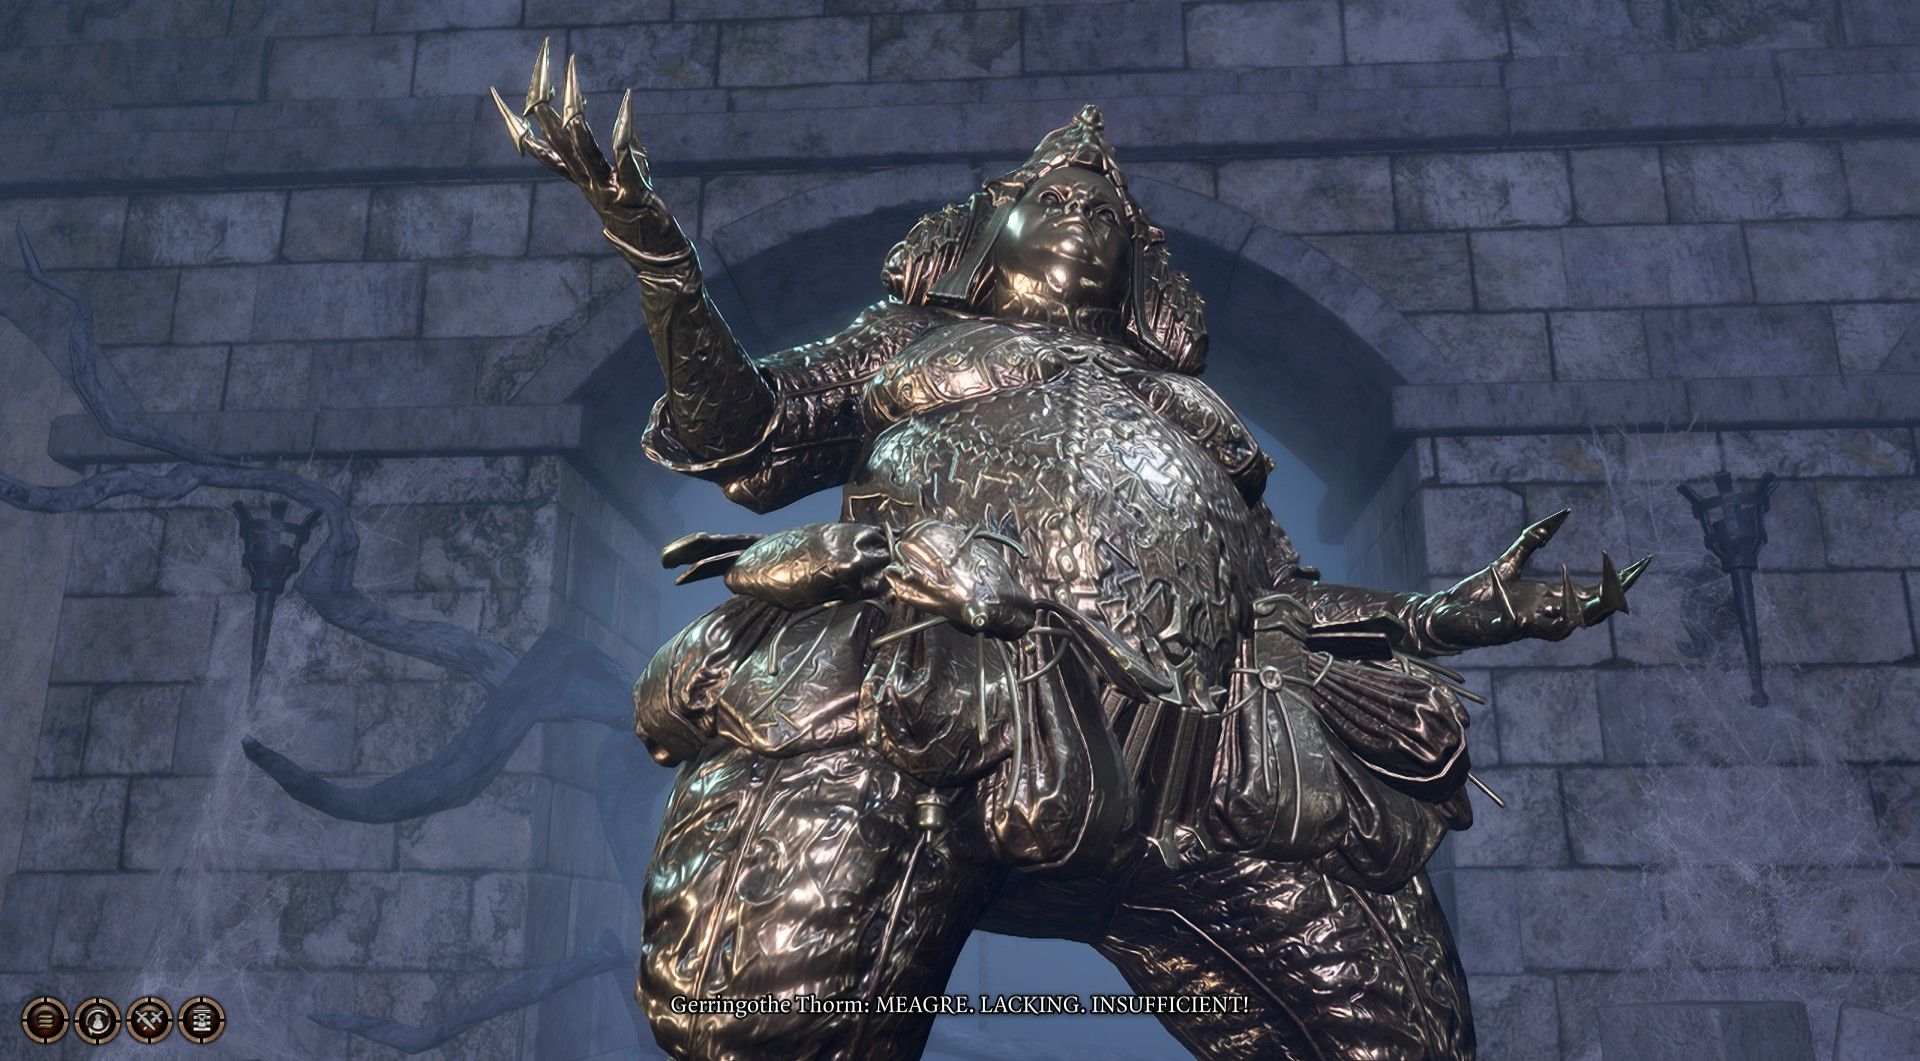
When talking to Gerringothe, she'll demand gold. You can give coins to her, but she will keep insisting on more. At this point, you have three choices:
- Give her all of your gold (ask her, "How much do you want?" after giving her a gold piece).
- Begin combat.
- Persuade/Deceive her to leave you alone.
If you choose to give her all your gold, she will fight you anyway if your gold totals less than 6,000.
If you give more than 6,000 gold, she'll give you the "Signed Trade Visa" and leave you alone. This item turns a creature into solid gold after three turns.
When you approach Gerringothe, if you have no interest in bargaining with her or if you would like your gold back, you can push her through the open hole in the wall to deal massive damage at the start of the fight.
How To Defeat Gerringothe Thorm
|
Gerringothe, Accursed Keeper Of Coins | |||||
|---|---|---|---|---|---|
|
HP |
"606" | ||||
|
AC |
16 | ||||
|
Speed |
9m | ||||
|
Size/Weight |
Large/220kg | ||||
|
Stats | |||||
|
Str |
Dex |
Con |
Int |
Wis |
Cha |
|
12 (+1) |
18 (+4) |
12 (+1) |
16 (+3) |
12 (+1) |
8 (-1) |
|
Feats | |||||
|
Coin Helmet |
Cursed coins increases her overall health. | ||||
|
Coin Cuirass |
Cursed coins increases her overall health. | ||||
|
Coin Cuirass |
Cursed coins increases her overall health. | ||||
|
Coin Cuirasse (R) |
Cursed coins allow her to use them as whips and increases her overall health. | ||||
|
Coin Cuisse (L) |
Cursed coins allow her to use them as whips and increases her overall health. | ||||
|
Coin Vambrance (R) |
Cursed coins allow her to use them as whips and increases her overall health. | ||||
|
Coin Vambrance (L) |
Cursed coins allow her to use them as whips and increases her overall health. | ||||
|
Alert |
+5 initiative and cannot be surprised. | ||||
|
Coin Armour |
This feat does nothing beyond suggesting there is a gimmick to her armor. | ||||
|
Darkvision |
Gerringothe can see 12m in the dark. | ||||
|
Fast Hands |
Gerringothe has an additional bonus action. | ||||
|
Immune To Control Undead & Turn Resistance |
Control Undead does not affect Gerringothe, and she has advantage on saving throws against being Turned. | ||||
|
Incapacitation (Honour-Mode Only; Legendary Resistance) |
Gerringothe has +10 on Saving Rolls against checks that would Incapacitate her. | ||||
|
Sublimation (Honour-Mode Only; Legendary Action) |
When losing a piece of armour, Gerringothe can attempt to turn all her enemies into solid gold (Constitution save). If turned, the creatures are incapacitated and cannot take any form of action. It affects all creatures in battle and lasts four turns or until the affected succeeds a Constitution save. | ||||
|
Attacks | |||||
|
Combustible Coins |
Gerringothe enchants all nearby coins to explode after one turn. Targets that succeed a DEX save take half damage. | ||||
|
Summon Coin Halberd |
Gerringothe can summon a Spirit Weapon Halberd made of coins. | ||||
|
Claws |
+7 to hit, 5ft; deals 4d8 + 1 Slashing damage. | ||||
|
Whip |
Bonus action. Whips a target and pulls them 4m toward Gerringothe. (Gerringothe usually follows this with a Claw attack) | ||||
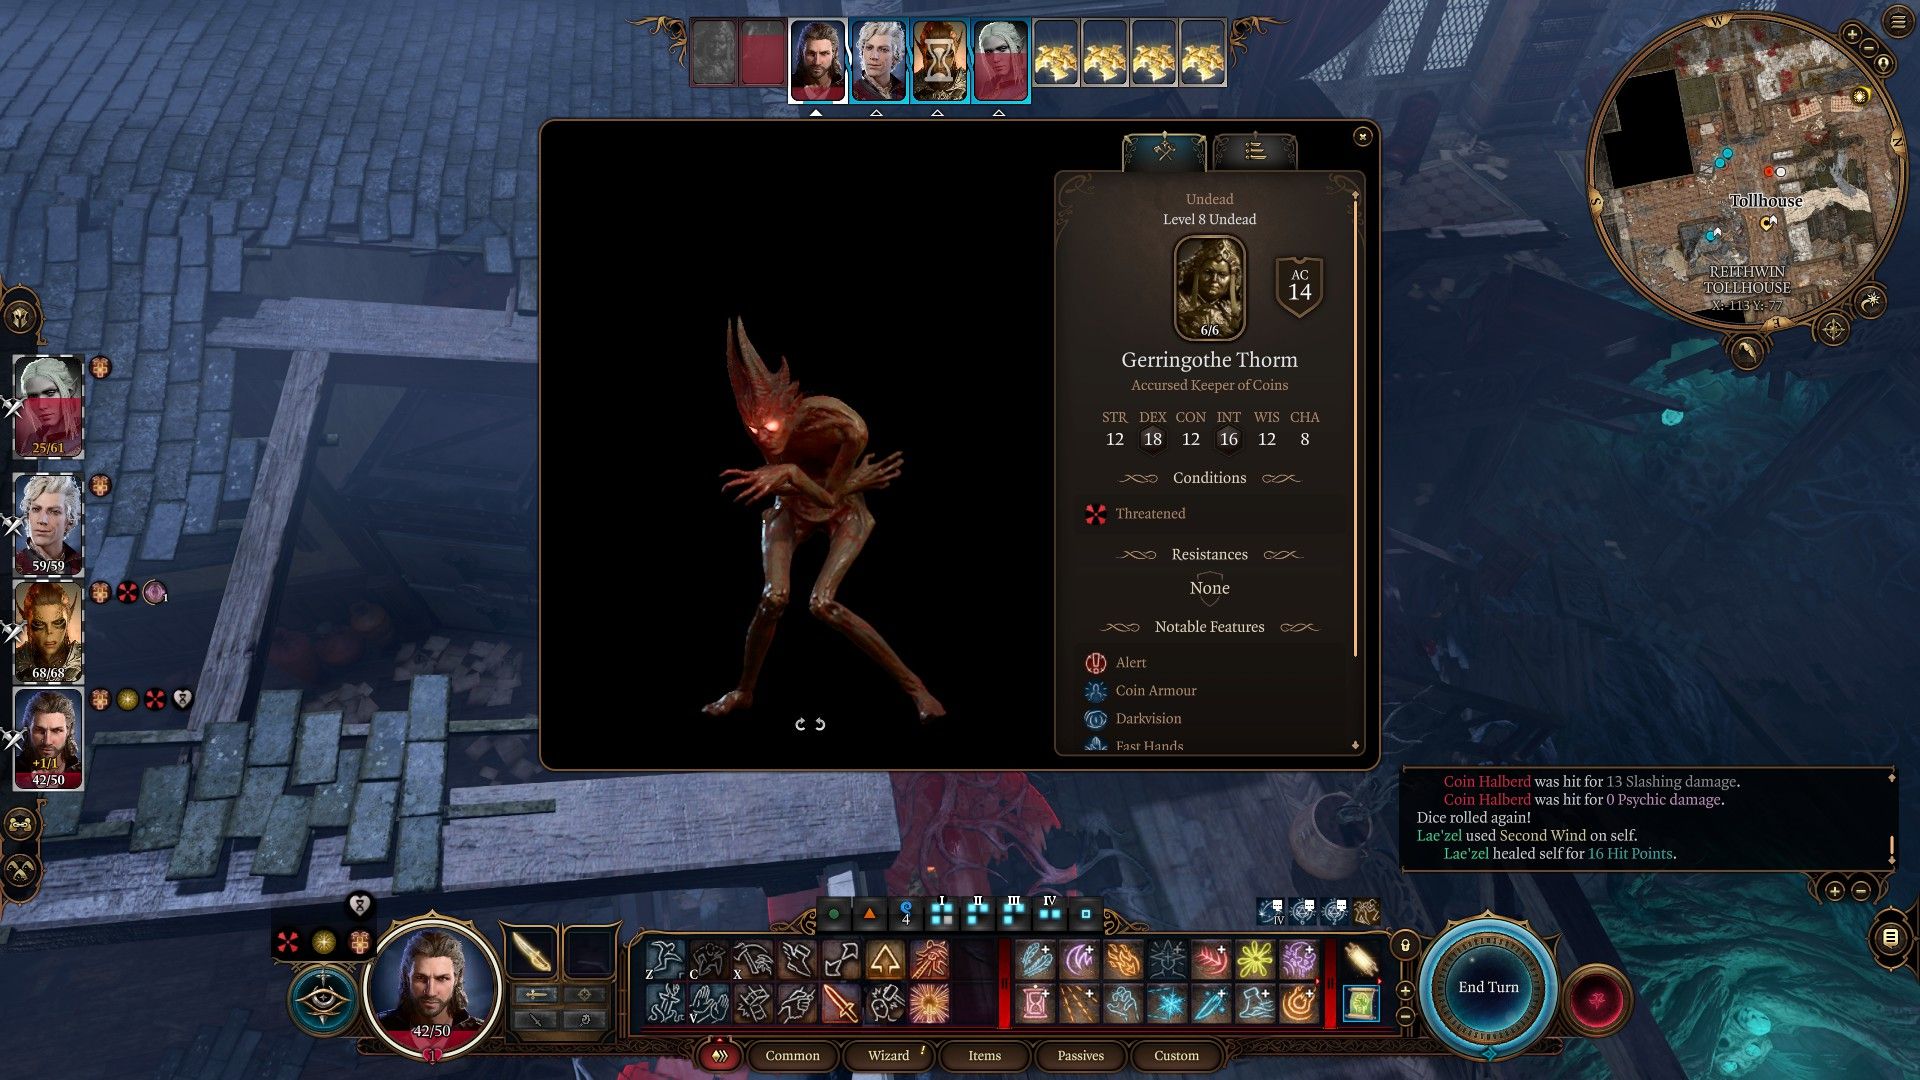
Gerringothe Thorm is an immense pushover once you understand her gimmick. After eliminating the skulls, her health is a measly 6 HP, and her AC is lowered to 14.
The swarm of enemies in close quarters means that they're uniquely susceptible to area attacks. You'll want to pack area or multi-hit attacks. Additionally, they're vulnerable to Psychic damage.
As a result, you should bring along weapons like the Sword of Screams or the Githyanki Greatsword. Try ensuring you also have feats like Cleave or Sweeping Attack.
Spells that should be brought include but are not limited to:
You will certainly want a Cleric or high-level Paladin or Druid for this fight. Healing will be almost necessary for this fight due to the pure potential damage of the first round.
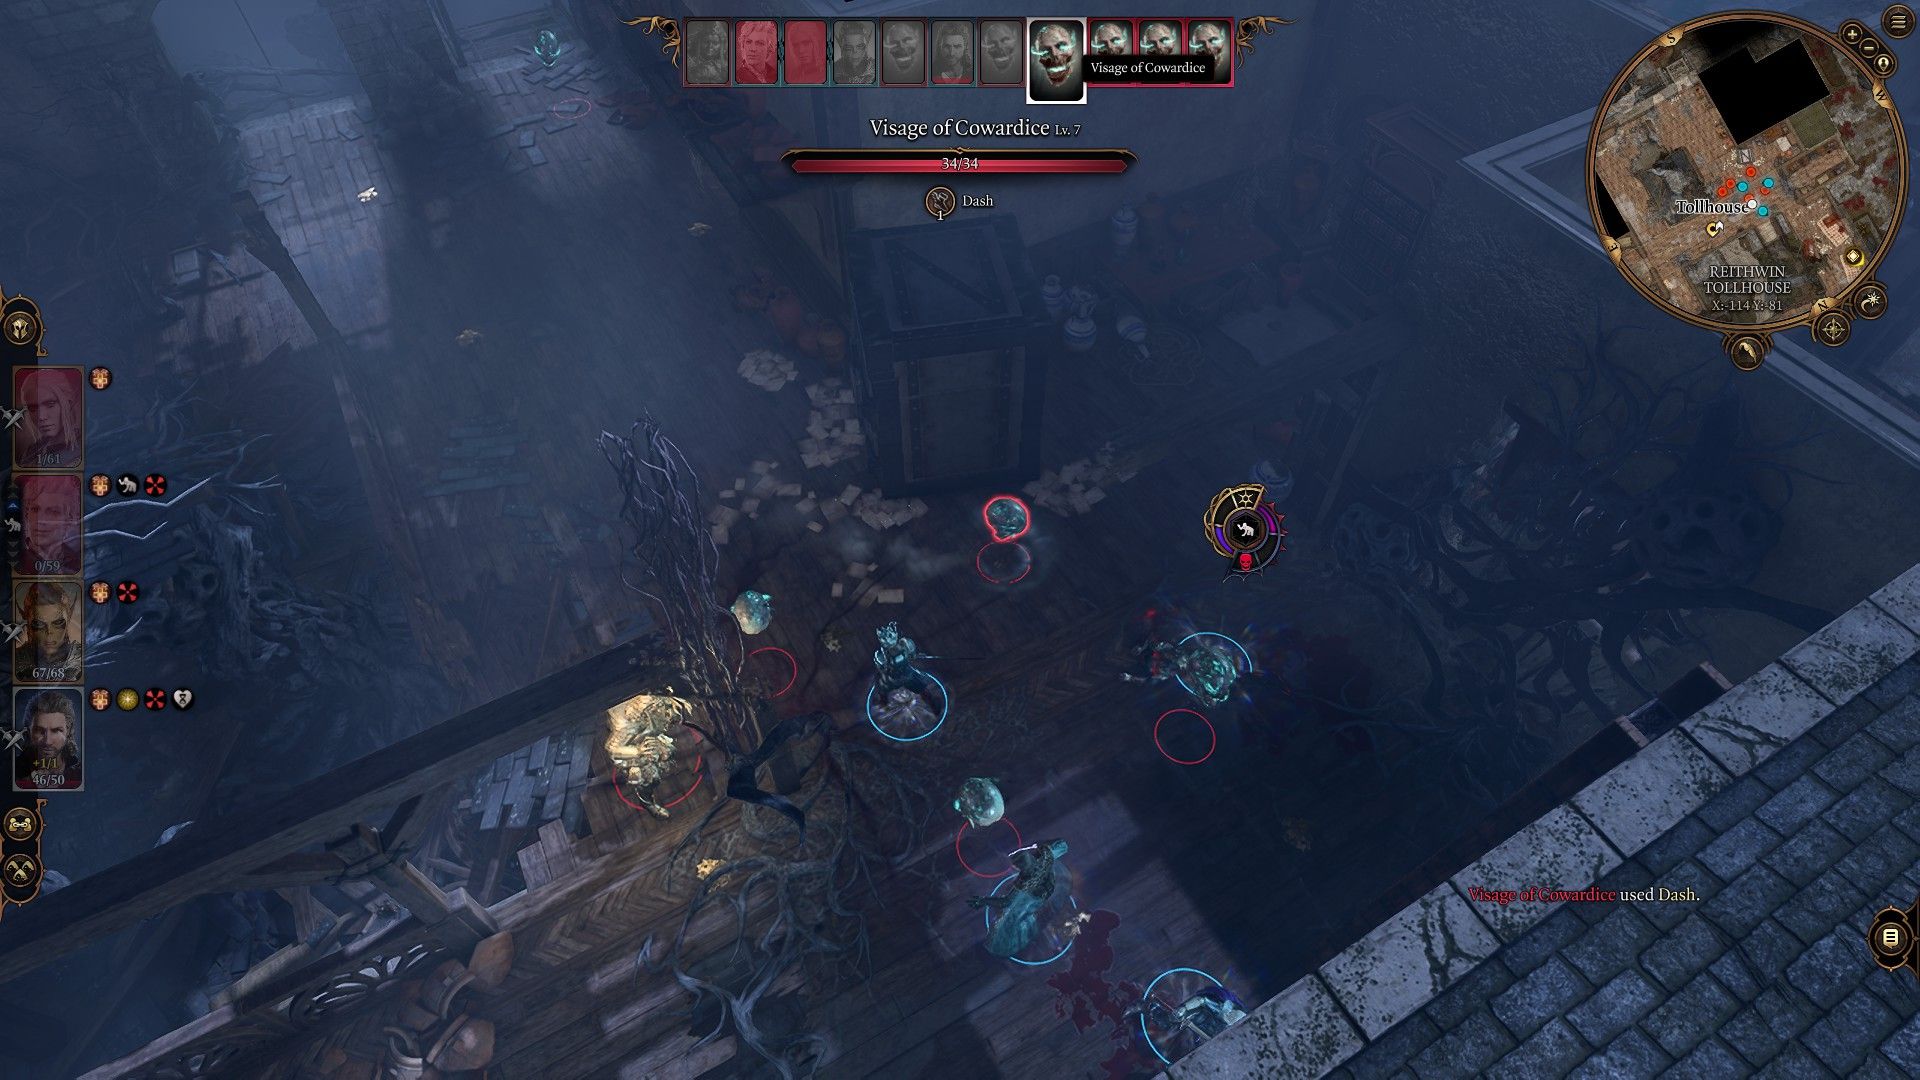
On the first turn, focus on the two skulls closest to you while you save one player nearby to use the Help action on any of your party members that may have been caught in an initial explosion (if you leave them, the skulls' area attacks will kill them).
For every one skull you kill, Gerringothe's health will be depleted by 100 HP.
Additionally, each skull is linked to an armor piece of her body. The first two pieces to go are her vambraces, which allow her to use the Whip action. After two skulls are gone, she will no longer be able to use Whip.
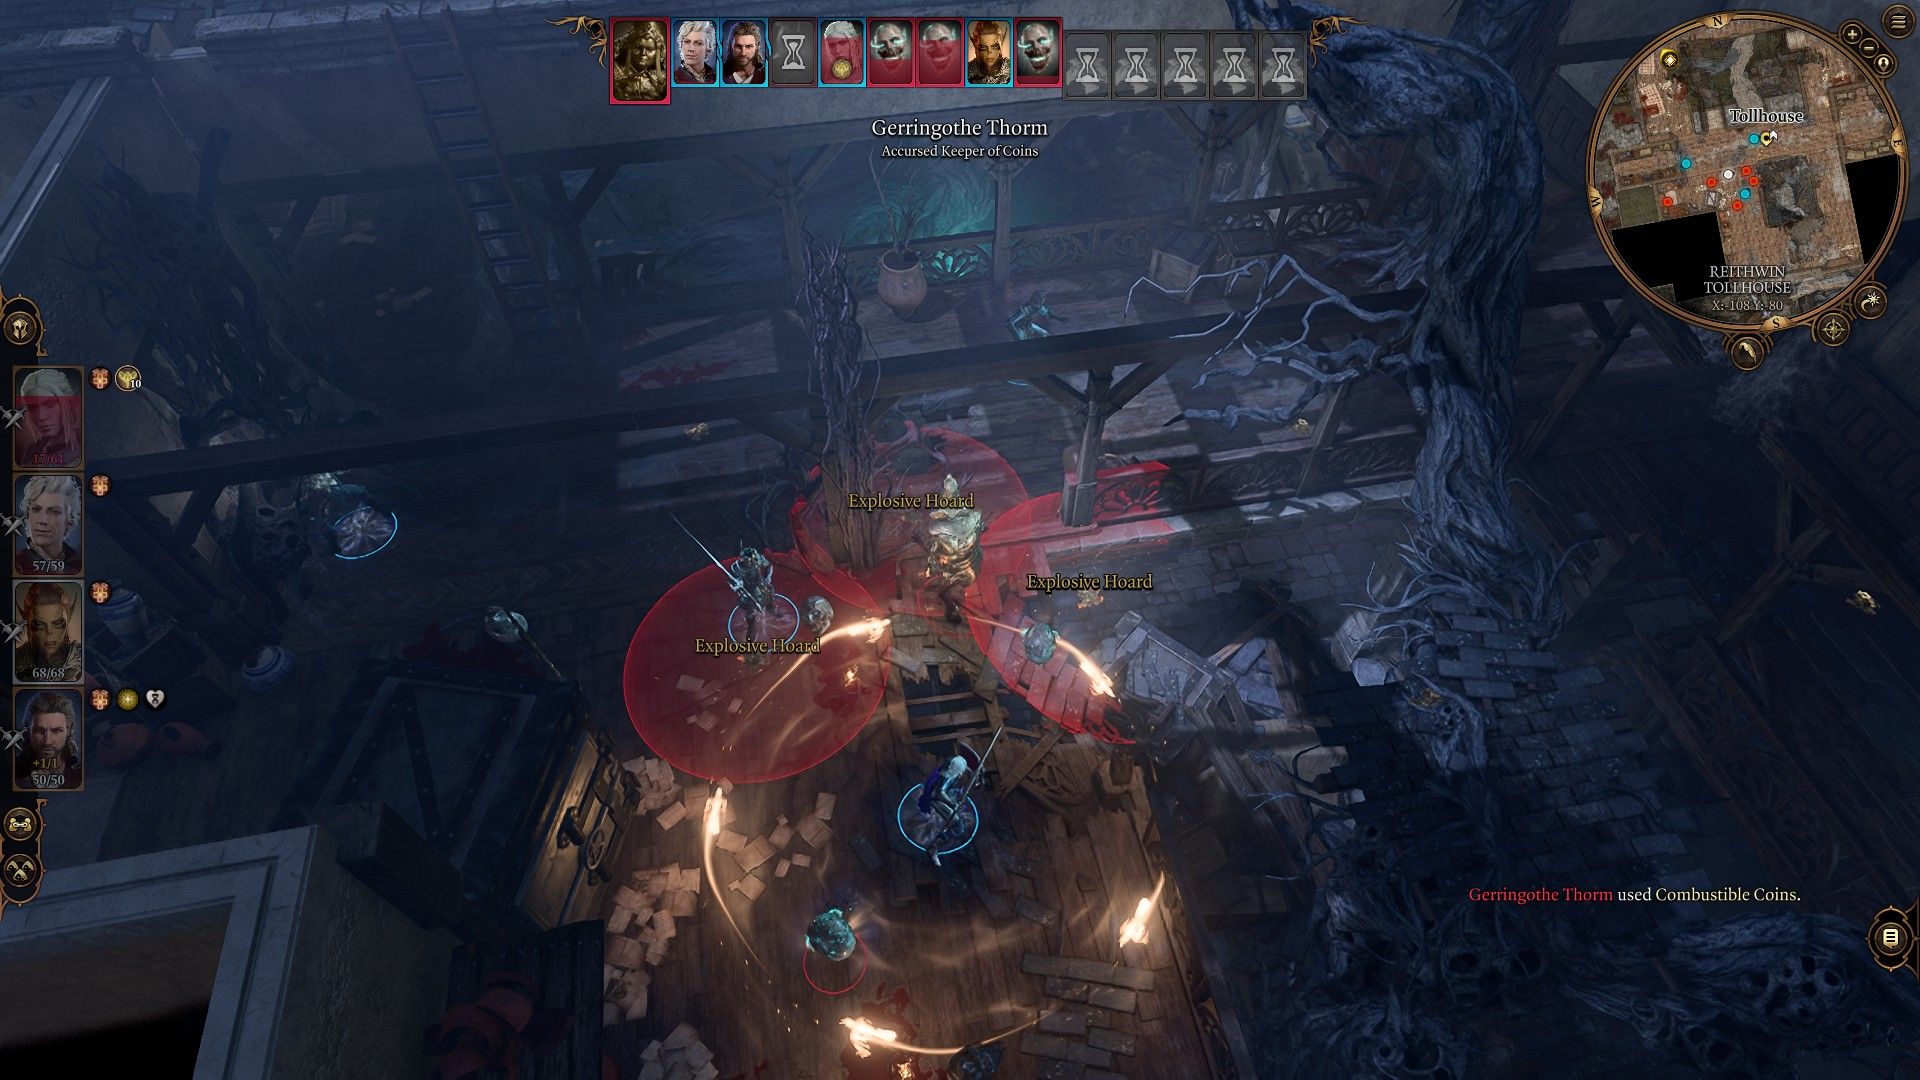
When Gerringothe uses Combustible Coins, halt your initial strategy by picking up any nearby highlighted coins. Picking them up will stop them from exploding.
Additionally, Gerringothe typically summons a coin-halberd spirit weapon as a bonus action on the second or third turn. It is best avoided in favor of the skulls. In fact, you can ignore it for the entirety of the fight since killing Gerringothe also defeats it.
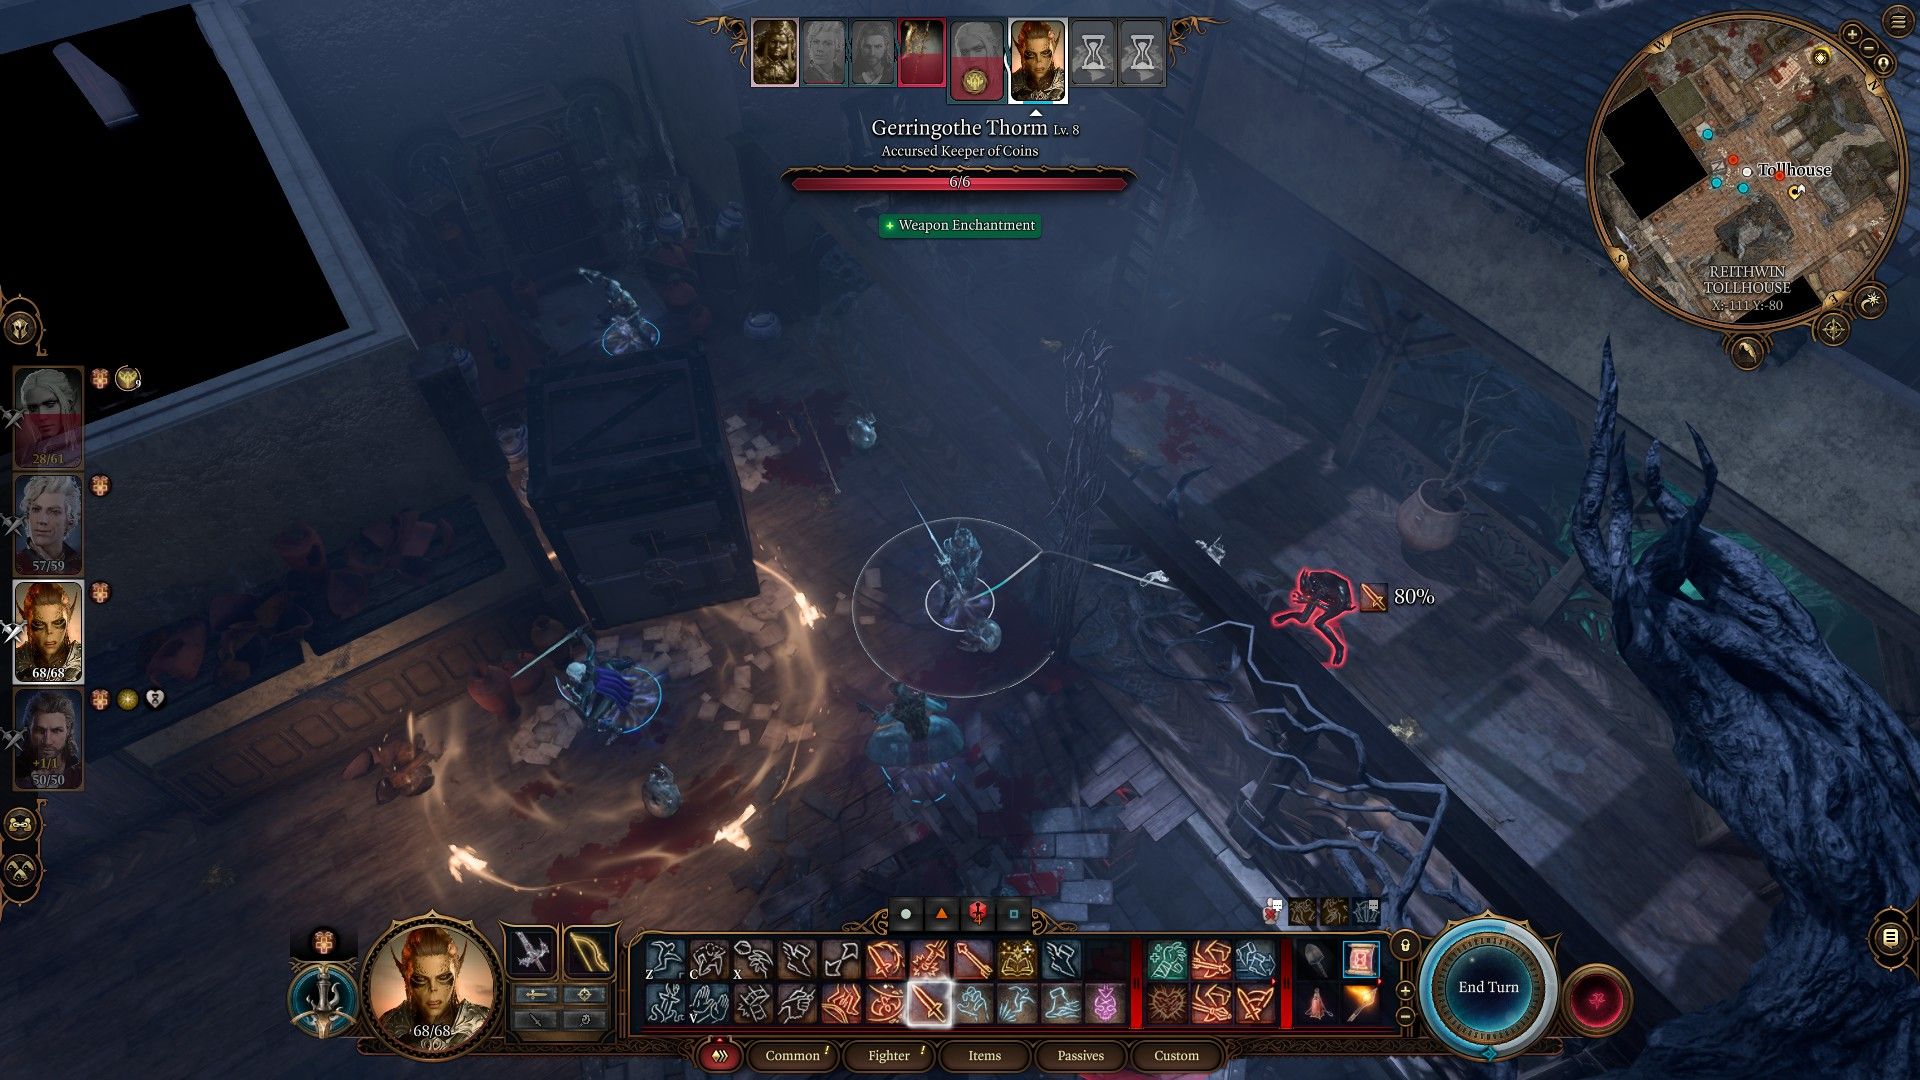
Once the final skull is gone, Gerringothe is only a standard weapon attack away from death. She has no special abilities or attacks to worry about here. Kill her.
When she's defeated, you'll get:
- A key to the Tollhouse Master's office.
- The Twist of Fortune weapon.
- All the gold you might have given her and a little extra.
You can now loot all of the gold in the Tollhouse without worry, and there is a massive collection of gold within the large safe you started battle near. Loot it, and you'll be free to explore.
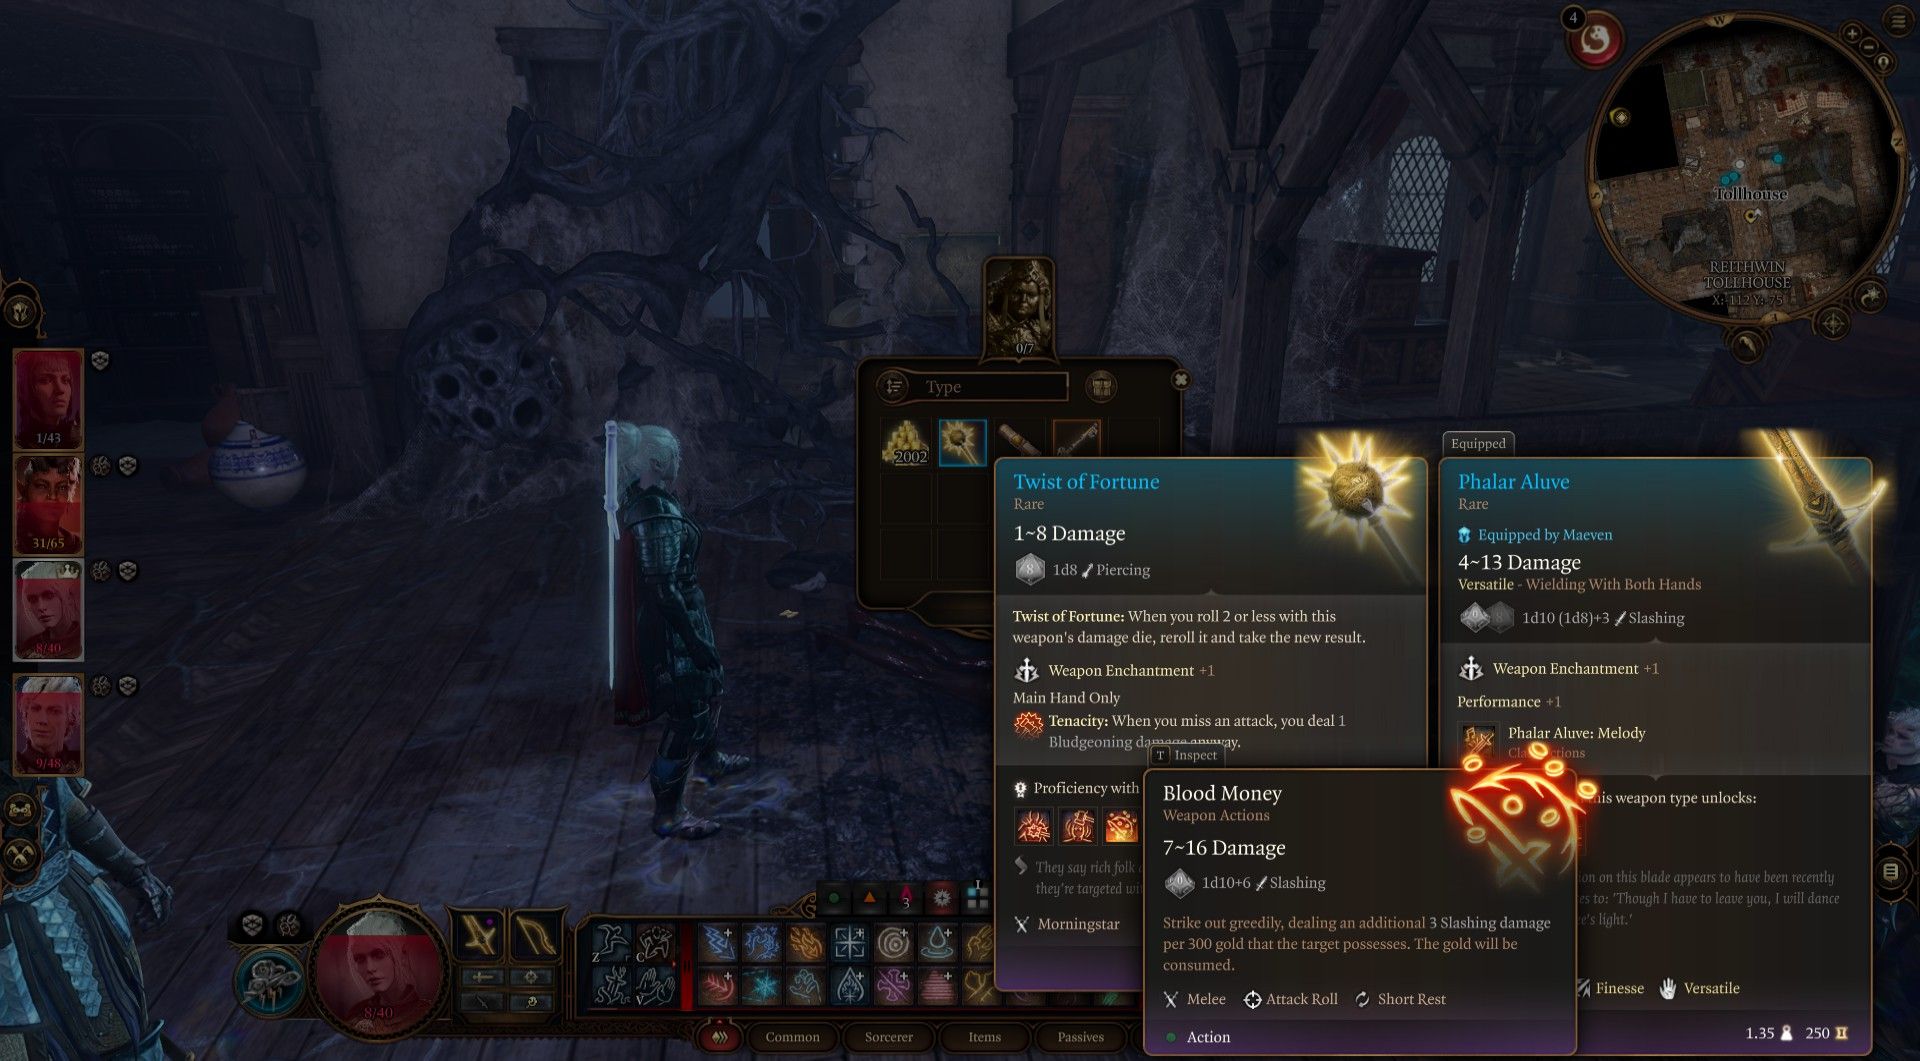
Twist of Fortune, the mace looted from Gerringothe, has seen a significant change in the wake of Patch 5.
This weapon no longer deals damage equal to the amount of gold on the creature struck, therefore allowing you to cheese Gerringothe by giving her all your gold, pickpocketing the weapon, and striking her with it.
This weapon now consumes the gold of the target when struck as well as only dealing extra damage (1d6) for each grouping of 300 gold on the enemy.

Add a review